
All Articles
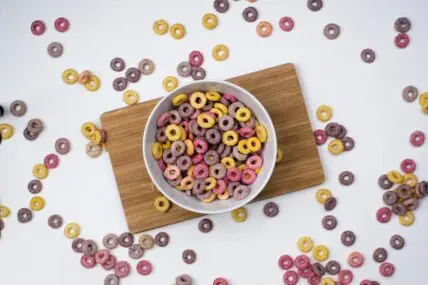
Shoppers can now rest assured that their local Target is stocked with healthy cereal options, all made without certified synthetic…

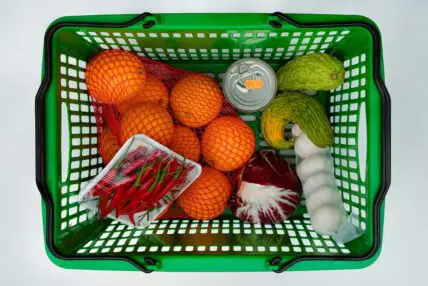
The new proposed FRESH Act would reshape the way FDA approval works for new food chemicals and block states from…
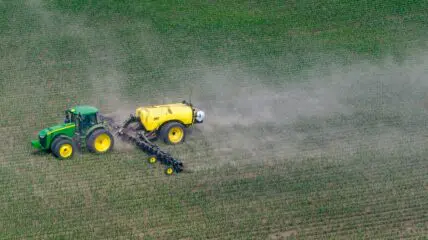
Fertilizer prices are skyrocketing due to ongoing war in the Middle East, and American consumers will feel it in the…
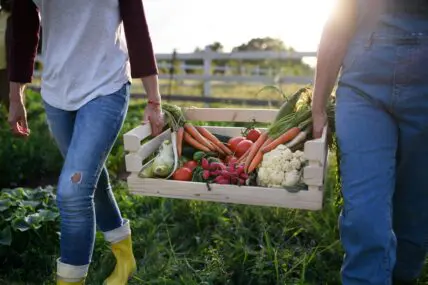
It’s time for the EWG’s annual Clean Fifteen and Dirty Dozen 2026, and this year there’s an emphasis on the…

Recent microplastics news challenges previous studies that claim nanoplastics have accumulated in our bodies and brains.
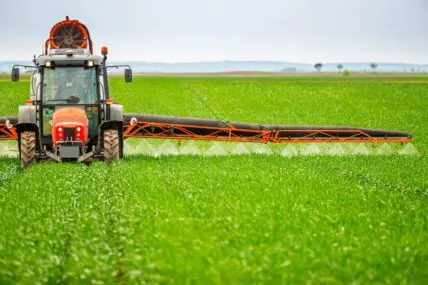
Swiss-based company Sygenta announced they will stop producing their Gramoxone herbicide — but that doesn’t mean paraquat is going anywhere.
Trump’s latest executive order is making glyphosate news by protecting production — and the shock is that RFK Jr. is…

New Amazon dietary supplement requirements have been changed to include third-party testing, aiming to prevent misleading claims.
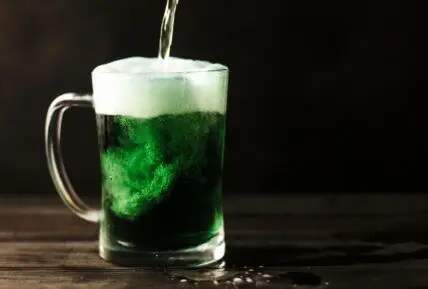
Make naturally green beer for St. Patrick's Day with wheatgrass, spirulina, or plant-based dyes. Add nutrients while you celebrate—no artificial…

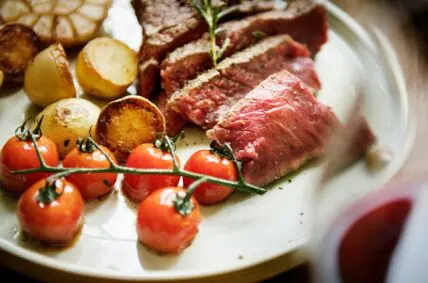
Antibiotic resistance is growing due to the use of drugs in the animal agriculture industry, and it’s contributing to deadlier…

Why are eggs so expensive? Here’s why the average American grocery bill has continued to climb since the pandemic.
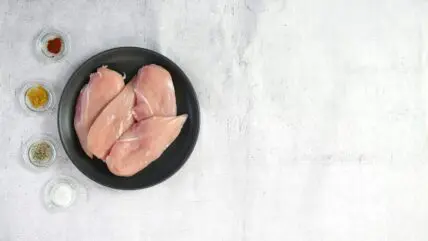
A new poultry report reveals how bad the salmonella contamination is in the industry, from Costco chicken to school lunches.
The new dietary guidelines for Americans were released, and they include both promising and concerning recommendations.
In EPA PFAS news, another forever chemical pesticide has been approved for use on golf courses and crops like tomatoes,…

The recent FDA cookware lead warning has been updated to include a total of 19 lead-leaching cookware brands to dispose…