Tutorial: Make a Fall Leaf Garland

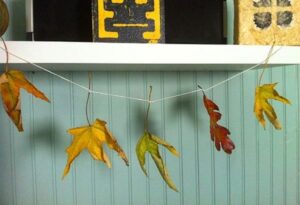
Are the leaves still changing where you are? Here in Atlanta, we’ve still got a little bit of green, but the trees – and the sidewalk! – have lots of beautiful fall yellows, reds, and oranges, too. This DIY leaf garland is a great way to bring those hues of fall into your home.
You can use your garland to decorate for an autumn shindig or just to add a pop of fall color to your everyday decor. Think of this as an eco-friendly alternative to cut flowers. These leaves are going to dry out and get crunchy, so your garland won’t last forever. When the leaves are no longer good, just toss them into your yard or compost bin. You can even pick the knots out of the twine and save it for another project or even use it to whip up another garland, if there are still pretty fall leaves on the ground when your first garland turns crunchy.
Ready to get crafting? Let’s go!
DIY Fall Leaf Garland

Materials
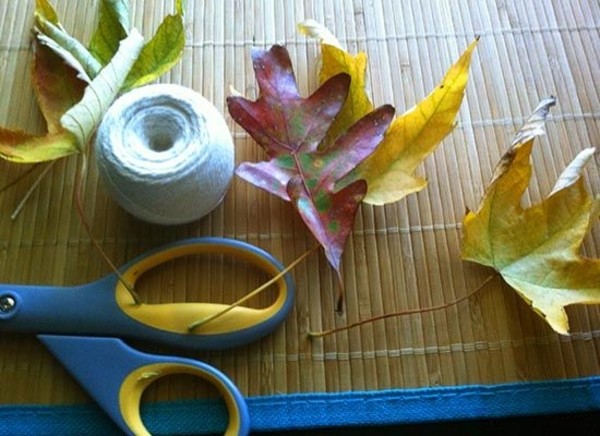
- Fall leaves – as few or as many as you like! I used 5, but you can scale this project up to make your garland as long as the wall you’re hanging it on!
- Two heavy books, optional
- Organic cotton or hemp twine
- Scissors
Directions
1. When you’ve got your collection of leaves together you’ll want to decide if you want your garland to be flat or if you’re OK with the leaves curled a little bit. I like the extra dimension of the curled leaves, but if you want flat leaves, press them overnight between your books, so they’ll lay flat.
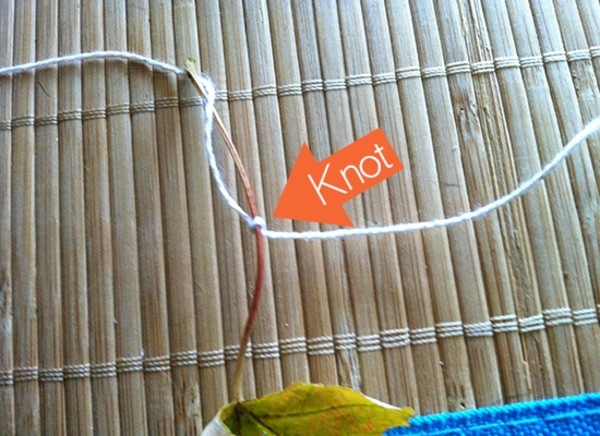
2. Lay out your leaves the way you’ll want them in your garland to see how much twine you’ll need. Make sure that you allow for a 6″ “tail” on either end of your garland, so you can hang it. Tie your first leaf onto your twine at this point with a double knot around the stem. If you’re having trouble wrangling the twine to tie on your leaves, try starting the first loop of each knot around your finger. You can slide your finger left or right along the twine to place the knot right where you want it, then slide the leaf stem in right before you do the final pull to tighten your knot.

3. Tie the rest of your leaves to your twine until you run out of leaves, and hang!
To hang your garland, use a small push pin or nail in the wall, tie one tail around the pin, then use another pin at the other end of where you want your garland to hang.
Variations
This project is a disposable one. Your leaves will dry out and get crunchy in about a week, which is fine if you’re decorating for a party, but if you want something more permanent, check out some of these ideas:
- Use that fused plastic you made to create a forever fall leaf garland.
- Collect a couple of leaves in different shapes and use them as a template to cut out of recycled felt or organic fabric, and sew the faux leaves onto ribbon.
- To make your fall leaves last longer, coat them in beeswax to make them last. For a vegan alternative, use candelila wax instead. It’s a natural beeswax alternative.
Have you guys been making any fun, fall decor projects? Share your favorites in the comments!
Image Credits: Photos by Becky Striepe

