
Salsa Into the Garden: How to Transplant Tomatoes and Peppers

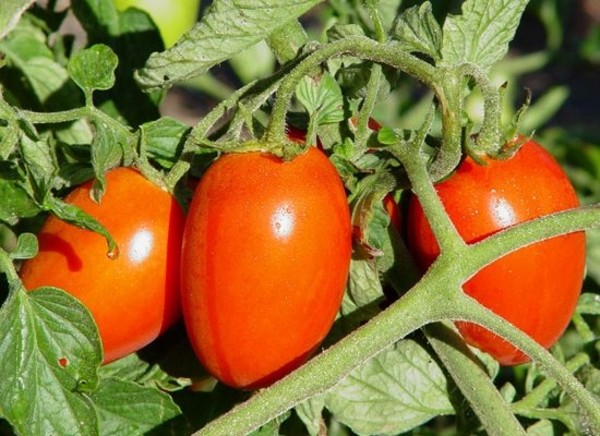
Tomatoes are often the plant of choice in a vegetable garden, as this fruit (yes it’s a fruit!) is a culinary staple that lends itself to numerous types of dishes. Fresh tomatoes picked right off the vine and sliced into a beautiful salad or onto a chunk of bread are incomparable, and just as tasty in sauces, fresh salsas, pizzas, soups and much more. Peppers aren’t far behind on the list of favorite backyard garden veggies, as their plethora of colors, flavors and heat factors add bit of crunch to salads or a kick of caliente to spicy dishes. Use this guide to learn how to transplant tomatoes and peppers and successfully grow your fresh salsas and sauces from scratch!

By June you should have invested in some well-established tomato and pepper transplants from your local farmer’s market, or have some healthy, 6-10 inch tall plants that you’ve started from seed. It is safe to transplant tomatoes and peppers as early as 2 weeks after the last estimated frost date, or as late as June. If your area is already hot, make sure to transplant on an overcast day or in the evening so that the plants do not get dehydrated or shocked from the sun and heat.
Tomatoes and peppers love full sun and fertile soil with good drainage. Always make sure to change your planting location every gardening season in order to reduce soil-borne diseases. Don’t plant tomatoes or peppers in an area where you grew other nightshades (e.g. potatoes or eggplants) in the previous 2 years.

Equip yourself with a trowel and a mix of compost and low nitrogen, organic fertilizer for planting. Set your tomatoes and peppers in the spots you want to plant them in before digging holes. Tomatoes and peppers do well in straight rows or staggered, 5-star patterns. Once you have laid your plants out, begin digging holes that will generously accommodate the plant’s roots, as well as a heaping handful of compost mix at the bottom of the hole.
Remove the plants out of their pots very carefully by flipping the pot over with the stem between your fingers, tapping on the bottom of the pot and slipping the plant out. DO NOT pull a plant by its stem or try to dig it out by sticking your fingers in the pot. Once the plant is free of its pot, gently loosen the roots if they are tight or tangled. Set the plant into its hole so that the bottom of the stem is just below ground level. Push soil back into the planting hole and place a ring of compost mix around the base of the plant. Water immediately after planting. You can lightly mulch around the plants and on the paths in between rows with straw.
If you are growing medium to large tomato varieties, caging or staking them at the time of planting is a good idea. Simply drive your cage or stakes into the ground so that they are stable, but don’t damage the roots of your plants. Staking peppers later in the season may be necessary if they start to get heavy with fruit. Continue to water your plants regularly, keep them moist but not soggy. Overhead sprinkler watering is fine at first, but once your plants start to form flowers, lay soaker hoses in your rows for watering. Begin withholding water once the fruit begins to ripen, as this will result in sweeter salsa harvests!
Images: jdn, Myrtle Glen Farm