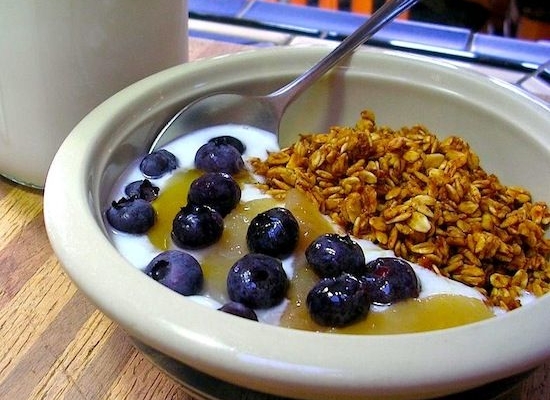
DIY Breakfast Recipe: How to Make Yogurt

Yogurt has become one of the most prominent and trendiest health foods of this generation, with major food manufacturers taking advantage of the yogurt fad. Yogurt can actually fight osteoporosis, reduce the risk of high blood pressure, help relieve gastrointestinal conditions, and even help you feel fuller. To top it off, yogurt is also deliciously simple to make. Our guide on how to make yogurt will teach you how to convert your organic milk into this creamy goodness, save money and skip the processed, over-sweetened and plastic packaged versions you get from the grocery store.
Yogurt was traditionally made to preserve milk, as fermented and cultured milk keeps much longer than fresh milk, much like pickled vegetables. Although several cultures worldwide learned to make their milk last longer through various fermentation and culturing methods, the practice of making yogurt seems to have influenced the cuisine of several countries on different continents. Why? Making yogurt is one of the easiest lactic acid fermentation processes. The live bacteria and cultures in yogurt provide a healthy and balanced digestive system, and, it can be used as an ingredient in numerous dishes.
So, learn how to make your own yogurt!
All it involves is organic milk, organic yogurt with live cultures, a food thermometer, a few glass jars with lids, a pot and water. Our guide will make it simple for you to have a bounty of fresh, homemade, organic yogurt that you can use on breakfast cereals, pancakes, in bread and other baked recipes, desserts, sauces, salad dressings, or however you please.
This recipe makes approximately 3 quarts of yogurt, so use either 3 quart jars or the equivalent. It is best to use jars that are all close to the same height. Use organic milk and a brand of organic yogurt that definitely has live cultures for the first time, but in the future you can use your previous batch of yogurt as a starter.
1. Take your cultured yogurt out of the refrigerator at least 30 minutes before starting the process. The bacteria in the yogurt will be more active at room temperature. Make sure your jars are clean and ready for use.
2. Fill a pot that will fit all of your jars and is at least as tall as your jars ¾ full with water. Place it on a burner and start heating it to 130 degrees F or a little hotter. This will be your incubation pot.

3. Pour slightly under 3 quarts of milk into a stainless steel (DO NOT USE ALUMINUM!) pot. Gradually heat the milk to 125 degrees F and pour it into the jars, leaving at least 1 ½ inches headspace. If you are using raw milk, the milk should be pasteurized by gradually bringing it up to 165 degrees F, and then cooled to 125 degrees F.
4. Add 1 tablespoon of yogurt to each jar, whisk it in thoroughly, and cover with a fitted lid.
5. Make sure the temperature of the water in your incubation pot is between 125 and 130 degrees F. You can augment with hot or cold water to reach the right temperature.

6. Place the jars in the incubation pot, making sure that the level of the water is above the level of milk, but not above the top edge of the shortest jar. Cover the pot with a lid, place it in warm place and wrap with a large dishtowel or bath towel.

7. Let the jars incubate for at least 7 hours, then take them out of them pot, dry them off and place in the refrigerator to help them set more. You can let the incubation process take place overnight.
8. When ready to use, whisk the yogurt for a smooth consistency. Serve on, with, or in anything!

Variation: To make flavored yogurts, add some fruit and sweetener, vanilla, fruit syrup or jam in the jar before pouring in the heated milk. The fruit, sweetener or syrup will fall to the bottom, but can be mixed in more evenly once the yogurt has set.
Images: Leena Oijala

