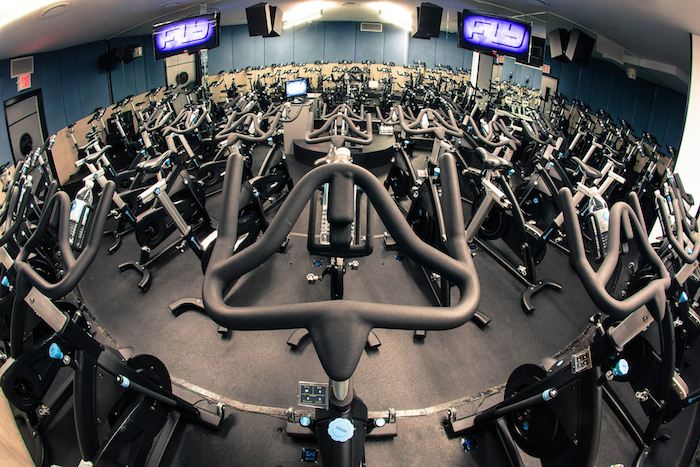
How to Protect Your Knees at an Indoor Cycling Class

Indoor cycling classes are a great way to get a high-powered, effective cardio workout. Here’s how to protect your knees while you’re on the bike.
“Indoor cycling is a no-impact workout and is safe because there’s no hard impact on your joints. It’s a good way to get a cardio workout without pushing into the ground like you do while running,” says Dani Knecht, an instructor at Flywheel Chicago.
To make sure you protect your knees (and the rest of your body), it’s important to warm-up before class and stretch after. “Before class, I like a dynamic warm-up, moving on the bike through all of the positions and gently getting acclimated. After class, I like to stretch out my hamstrings, quads, hip flexors, calves and glutes. Personally, I also like to add in some stretches for my lower back, like child’s pose or cat-cow,” Dani says.
While cycling is a no-impact workout, she reminds anyone with a previous injury, or who has concerns about starting a new fitness routine, to check in with their medical professional before saddling up for a ride.
Indoor Cycling: The Benefits
At Flywheel, which has studios across the country and in Dubai, classes are interval-based, meaning you get a super effective workout in just 45 minutes. “The benefit of interval training is that when you drive your heart rate up and then allow it to recover, your body continues to process that workout after you finish as opposed to how your body reacts to riding comfortably for three hours.”
Dani suggests making cross-training part of your overall fitness routine to build strength in your whole body, which can help if you have concerns about how to protect your knees. “The benefit of cross-training is that working to strengthen your quads, glutes, inner and outer thighs and hip flexors will help protect your knees—and you’ll become a stronger rider. It never gets easier, but you get better and become more efficient.”
Setting Up Your Bike
Properly setting up your bike is the best way to avoid injury and get the most from your workout. Many studios have bikes that are custom-made, so your settings could vary if you cycle in different places. “If you are new to class, introduce yourself to the instructor and ask her to set up your bike. At Flywheel, in addition to the instructor, we also have a staff trained to help you. Don’t be afraid to ask for help and write down your settings,” advises Dani.
There are three very important settings to pay attention to when setting up your bike: handlebar height, saddle (or seat) height and fore-aft (how close the seat is the handlebars). Dani offers this reminder for students, “Feel free to say, ‘this doesn’t feel right’ and ask for an adjustment.”

Clips Vs. Sneakers
At Flywheel, all students are outfitted with clip-in cycling shoes for class. Not only does this help keep your foot from sliding around on the peddle, Dani explains that clipping in actually gives you more power. “The clip-in shoes allow you to utilize more of the push and pull of the pedal and spread your power throughout the foot and distribute your power through your legs.”
If you cycle without clips and want to invest in cycling shoes, ask an instructor what kind of clips the bike is compatible with and then visit a bike shop. Be sure to make it clear that you plan to use the shoes for indoor cycling because the recommendation would be different for outdoor riding.
Standing and Sitting and Speeding
In most cycling classes, you will work in three different positions: sitting, standing upright with your butt over the saddle and standing while leaning forward and pushing your butt toward the back of the saddle.
“There are safe ways to ride in every position, but if one bothers you, come back to the saddle. I always remind students that you can sit and hold the same cadence.” So why all of that up and down? The idea is to work more parts of your body, including your core. “If you are coming into second position, you are working on your quads and lower abs; in third, you’re working your glutes and lower hamstrings. There’s a purpose to all of the position changes,” says Dani.
We’ve all seen people in class who are speeding way ahead of the pack. But, going faster isn’t always better. “You want to think strong and then you want to think fast. Avoid riding at too high of a cadence without resistance; it’s ineffective and you could bounce around in the saddle. We’re trained to know which resistance is best for what RPM, and we know not to take you out of the saddle at a certain cadence because at a certain point, without resistance, you lose the effectiveness of the workout.”
Take a class with Dani at Flywheel Chicago, check out her other classes at TRAINology or find a Flywheel class near you.
Related on Organic Authority
6 Fitness Tips and Exercises for Joint Pain
8 Natural Remedies for Joint Pain
Staying Fit While Working Out Post-Injury
Images: Flywheel Chicago

